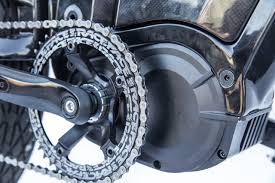
Complete Beginners Guide - eBike Conversion In 6 Easy Steps
Part 2 of eBike Conversions For Beginners series
Converting your existing or secondhand bike to an electric pedal assist or throttle-only bike using a front wheel hub motor eBike conversion kit is one of the easier projects for a complete beginner to eBikes to achieve.
Unlike a rear wheel hub motor conversion which can be quite fiddly or a mid drive conversion which requires even more time, patience and skill, an eBike conversion using a front wheel hub kit can be completed in 6 easy steps by a complete beginner in less than an hour or two.
It is strongly advised that you read or at least skim Part 1 of this series – An Introduction to eBike Conversions as it covers topics such as safety considerations that you need to think about particularly regarding hub wheel motor conversions.
Tools Required
You will need a standard bike toolkit including wrenches, spanners, flat and crosshead screwdrivers plus a crankarm extractor and pedal wrench.
Type of Front Wheel Hub Kit Required
Step 1. Preparation and Removal Stage
1. In preparation for installing the pedal sensor you will need to remove the pedal from pedal side only ie – the non-chain side.
- First remove the nut with an 8mm hexagonal allen key.
- Then screw in the crankshaft removal tool into the opening.
- Once screwed in use your spanner/wrench to tighten the top nut of the crankshaft removal tool until the pedal arm comes away.
See video for the technique.

3. In preparation for installing the throttle (optional) remove the handlebar grips, the gear shifter, brake lever and any bell you might have. You may have to squeeze some washing-up liquid or something similar inside the grips to help loosen them off.

- If your kit doesn’t include a tire, you will need to remove your existing tire and tubing with your plastic tire levers to eventually put on to the new wheel.
- Remove any taping from around the rim of your old wheel.This will be reused on the new wheel.
- If you have an existing disc brake that you want to reuse and the replacement wheel has fittings for it, remove either the 6 retaining bolts or the central lock. You will need a cassette lockring tool or a bottom bracket tool.
Step 2. Preparation and installation of hub wheel
- Use sandpaper to rub down the rim then put the tape on around the wheel. If your old tape is damaged, put new taping on.
- Install tubing and tire on to the wheel.
- Remove the torque arm (if present) then insert the wheel. If it comes with disc brake mountings ensure that this faces left of the forks (if you’re facing forward on the bike). Otherwise look for markings and read instructions to indicate the direction of the wheel.
- The exit point of the cable from the hub should be facing downwards to prevent water seeping in if some kind of break or crack in the seal develops later on.
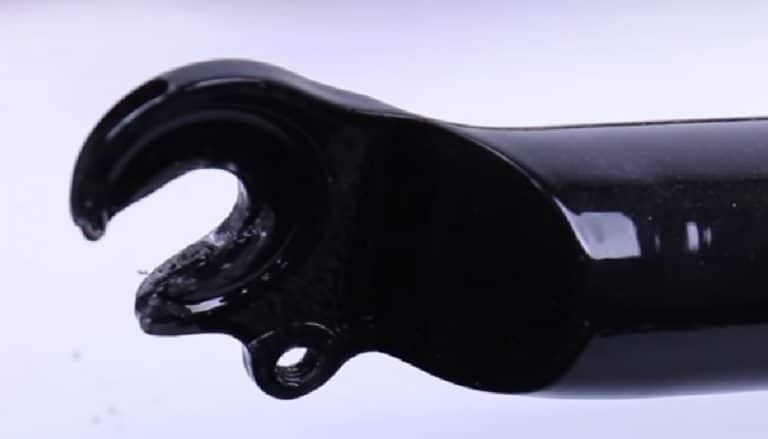
- Most of the time the wheel will slide into the fork easily. However about 30% of the time it won’t fit or get stuck part way in because the width of the dropout (the slot at the end of the fork) is too narrow – the gap should be 10mm. Sometimes this is simply caused by the thickness of the paint. At this point you need to get a file or sandpaper to trim the inside of the dropout down approximately 0.2mm.
- Do this a bit at a time because you don’t want the dropouts to become so wide that they become unable to stop the axle from spinning.
Fitting the torque arm - click below

Step 3. Install the sensor for pedal assist
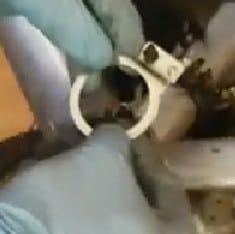
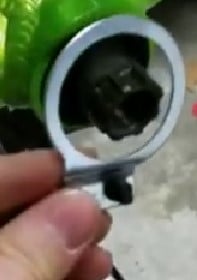
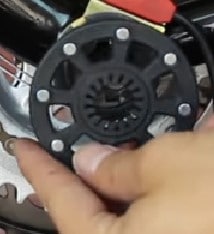
Step 4. Install the Battery
Screw in the mounting plate of the battery case on to the bike frame. Fit battery on to the plate. As the battery is generally the most expensive component here are some tips on how to look after your battery.
See video below for alternative battery fitting.

Step 5. Install the Cockpit Area
Install LCD display to your handlebars using the provided grommets to secure it.
Slide and screw on the switcher, shifter and brake and grip. If using the eBrake remove brake cable from your original brake lever and install on to new eBrake lever.
On the other side of the handlebars slide on the throttle (optional), brake lever and grip.
Step 6. Installing the controller
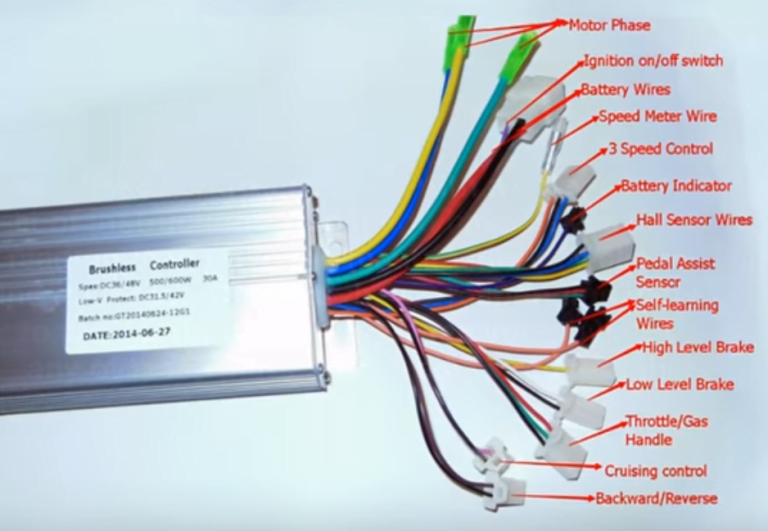
Fit the controller in the bag supplied. Connect color coded cables to all the components – make sure the arrows on the plugs are aligned before connecting. Tuck in any unused connectors into the bag. Use the zip ties and plastic spiral to manage the cables.
Summary
- Remove the pedal, wheel, and handlebar components
- Install the front wheel hub motor and torque arm(s)
- Install the pedal assist sensor
- Install the battery
- Install the cockpit area
- Install the controller and do basic cable management
You can see other step by step guides on converting your bike by clicking on one of the links in the yellow box below – eBike Conversions for Beginners.
Once you’ve got your eBike up and running it’s time to look at helmets geared specifically towards eBikes.
eBike Conversions for Beginners series
- Part 1 is an introduction to eBike conversions and covers reasons to convert a regular bicycle to an eBike, types of conversion kits with their pros and cons, safety and legal considerations, planning where to place components and much more
- Part 3 is a step by step guide on converting your bike with a rear wheel hub motor kit
- Part 4 is a step by step guide on converting your bike with a mid drive motor kit
- Part 5 covers the 7 best eBike hub conversion kits for heavy and overweight people
You might also be interested in reading Bike Accessories You Didn’t Know You Wanted which includes tips and tools to keep your eBike and yourself safe on the roads
Related Posts
Seven Must Do Actions Before Buying ANY eBike Conversion Kit
Got an old bike that you want to convert? Learn the 7 Must Do Actions Before Buying ANY eBike Conversion Kit and save time and money with proper preparation
7 Best eBike Conversion Kits for Heavy and Overweight People
Heavy eBike rider? Here’s the 7 best hub and mid drive eBike conversion kits for people weighing 280 pounds plus. eBike Conversions for Beginners Series Part 5
Rear Wheel eBike Conversion – 5 Easy Stages – Newbie Guide
Part 3 of eBike Conversions For Beginners. Step by step guide for complete beginners to build an eBike with a rear wheel hub motor kit in five easy stages.
6 Simple Steps to Convert A Regular Bike To An eBike
Part 4 of eBike Conversions For Beginners. Step by step guide for intermediate beginners to build an eBike with a mid drive motor kit in six simple steps.
Beginners Guide on How to Convert a Regular Bike to an eBike
Part 1 of eBike Conversions for Beginners series – 5 reasons to convert a normal bike to electric. Differences between wheel hub motor and mid drive kits.
Last update on 2024-07-27 / Affiliate links / Images from Amazon Product Advertising API


