Mid Drive Motor Install - 6 Simple Steps to Convert A Regular Bike To An eBike
Part 4 of eBike Conversions For Beginners series
This is part 4 of converting a secondhand bike into an eBike Conversion and we’ll be looking at how to do a mid drive motor install in six simple steps.
In Part 1 of this eBike Conversions For Beginners series – the beginners guide on how to convert a regular bike to an eBike we looked at some reasons and options on how and why you would want to convert your bike to an ebike. The two obvious reasons being money and complete spec control.
And since you’re on this page, you already know that a decent eBike can still set you back thousands of dollars. You probably also know that with a few tools and a goodish donor bike you can make your own dream machine to your own specifications with mid drive kit conversions
You’ll also need a suitable battery as they are not included in many conversion kits
Why mid-drive? Better weight distribution makes it much better balanced bike. It tends to give the closest sensation of riding a normal bike. These motors are also more efficient because of the gear ratios. They can be fitted to a wider variety of frames compared to hub motors. With hub motor kits you’re limited by the size of the wheel. Mid drive motors have better torque than hubs. Therefore they can tear up hills. And they are fantastic for trail riding and mountain biking.
So without further ado let’s go through the 6 simple steps to convert your regular bike to a powerful mid-drive eBike. Please note that this guide isn’t really aimed at complete beginners to eBike conversions. The related DIY articles below might be easier.
eBike Conversions for Beginners series
- Part 1 is an introduction to eBike conversions and covers reasons to convert a regular bicycle to an eBike, types of conversion kits with their pros and cons, safety and legal considerations, planning where to place components and much more
- Part 2 is a step by step guide on converting your bike with a front wheel hub motor kit
- Part 3 is a step by step guide on converting your bike with a rear wheel hub motor kit
Tools Required
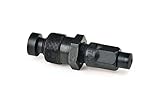
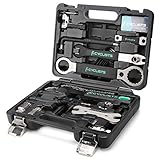
The basic tools you’ll need include a set of wrenches including a pedal wrench, a crank arm extractor, a bottom bracket tool, a chain tool and flat and cross-head screwdrivers.


Mid Drive Motor
No products found.
Step 1 - Removal Stage
Remove the pedals using the pedal wrench or 15mm wrench.
Remove the crank arm bolt and then remove the crank arm. Repeat on the other side.
For many people removing the crank arm is the hardest part. Please watch the video for removal guide.
3. Remove bike chain using your chain tool
4. Remove front derailleur (if applicable) and derailleur cable.
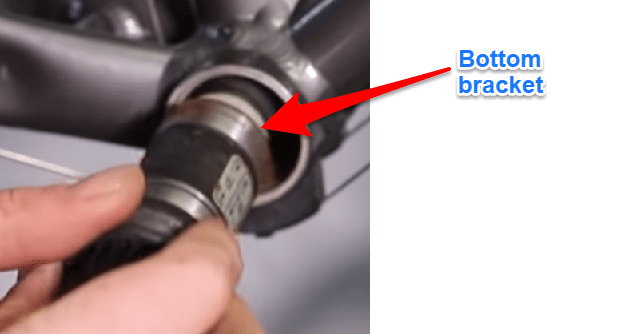
5. Remove bottom bracket with the BB removal tool. NB on the drive side turn clockwise to undo.
Repeat on other side of bike this time turn anti-clockwise.
6. Remove front brake cable if they are mechanical brakes
7. Remove grip, shift and brake assembly from handlebars.
If installing brake sensors just remove front shift assembly
8. If you are also installing mechanical ebrake levers then remove the existing mechanical brake line from front brake lever.
See video for removal of brake cable
Step 2 - Install the Bafang motor
Slide motor assembly into bottom bracket shell
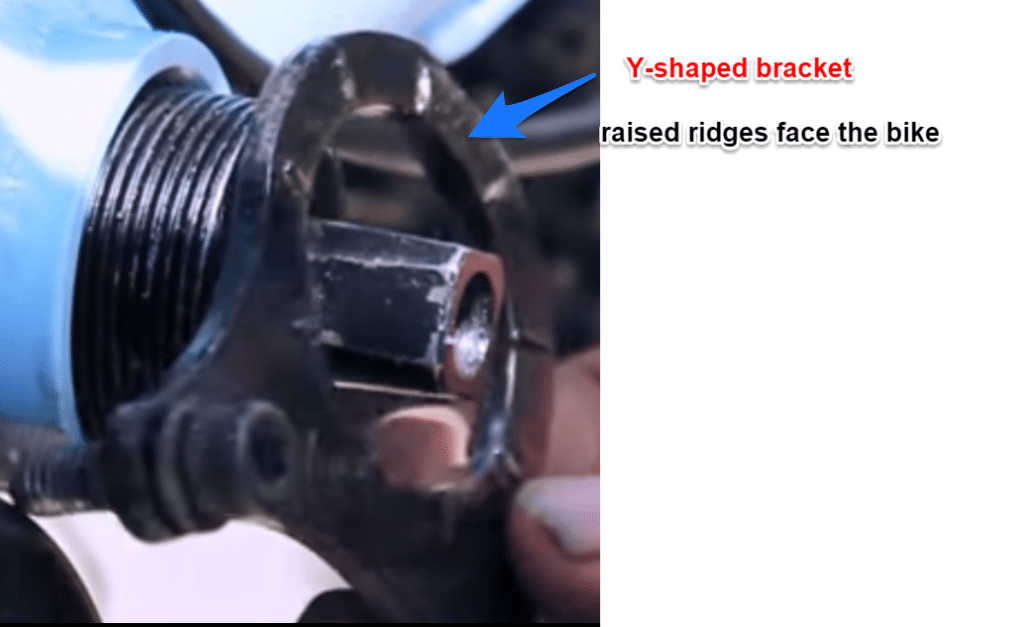
Secure the motor with y-shaped motor mount bracket on left side – raised ridges should face the bike
Install M6 bolt & washers with 5mm allen wrench. Do not over tighten
Install grey M33 locknut on exposed threads. Make sure arrow is facing right
Now tighten the M6 bolts with 5mm allen wrench
Install and tighten the outer black M33 locknut
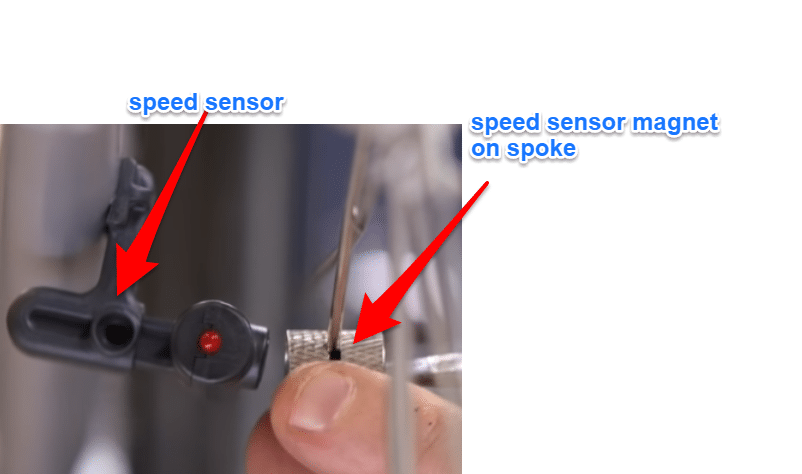
Step 3 - Install Speed Sensor
If in two pieces, slide speed sensor into speed sensor mount
Remove adhesive backing and attach speed sensor inside the chainstay
Install speed sensor magnet on to the spoke. Make sure it faces the speed sensor and is about 1.2mm from the speed sensor then tighten
Use cable ties to secure the speed sensor
Attach the speed sensor to speedometer cable coming from the motor and screw on
Connect wiring harness into motor assembly – make sure the arrows on each part align
Stretch the cable along the top mount of bike towards the brakes. Use cable ties to keep in place
Step 4 - Install Cockpit Area
LCD Display
Install LCD display to your handlebars using the provided grommets to secure it.
Control Pad
Slide and secure the control pad on to the handlebar using the allen wrench to tighten with the supplied nuts and bolts.
Brake Lever and Cable
Slide brake lever on to the handlebar and tighten
Reinstall your brake cable into the brake lever assembly – if using bafang mechanical ebike levers.
Install the throttle and secure with allen wrench.
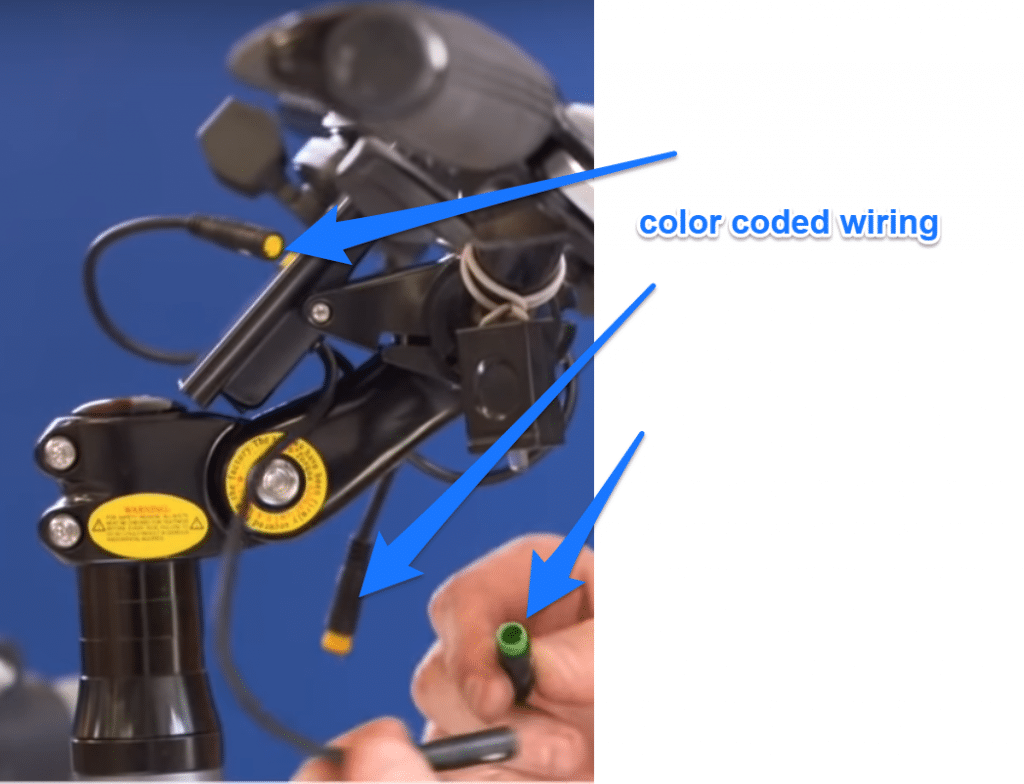
Connect color coded wiring harness cables – make sure the arrows on the plugs are aligned before connecting
Reinstall brake cable into brake assembly.
Step 5 - Install Sprocket and Drivetrain
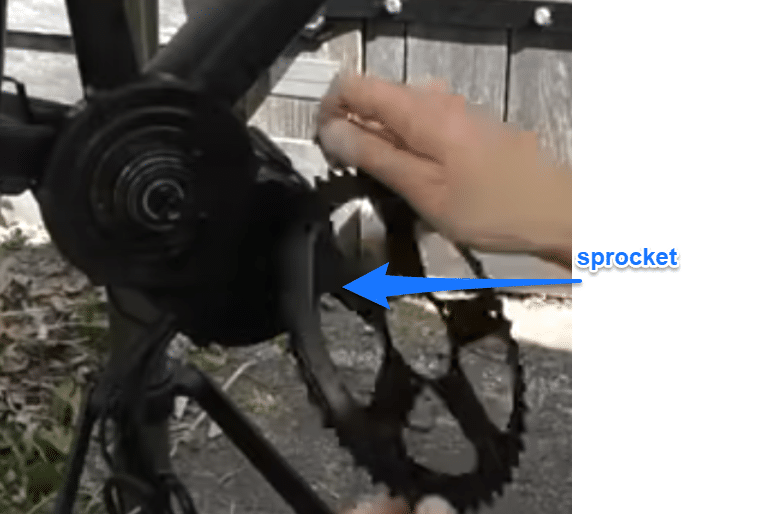
Install chain ring/sprocket using 5 M5 bolts
Install chain guard using supplied screws
Install the crank arms with 8mm allen wrench – do not over tighten
Repeat on the other side of the bike
Reinstall your pedals – tighten with forward rotation
Reinstall the chain with a chain tool or quick links
Step 6 - Install Battery
Install battery mount on bike frame. If your battery doesn’t fit in frame watch video for alternative placement
Plug battery mount into motor leads
Slide the battery on to the mount
Lock battery in place
Summary
In summary the 6 simple steps to convert your secondhand bike to an eBike breaks down as follows: -after you’ve stripped the drivetrain, install the mid-drive motor, the speed sensor, cockpit area, sprocket and rest of the drivetrain and finally the battery.
If you’ve followed these steps you should now be the proud owner of a powerful mid-drive eBike built to your own specifications and for a fraction of typical retail prices. All you’ll need now is an ebike helmet to go with your new bike.
** Learn the 7 Must Do Actions Before Buying ANY eBike Conversion Kit-**
eBike Conversions for Beginners series
- Part 1 is an introduction to eBike conversions and covers reasons to convert a regular bicycle to an eBike, types of conversion kits with their pros and cons, safety and legal considerations, planning where to place components and much more
- Part 2 is a step by step guide on converting your bike with a front wheel hub motor kit
- Part 3 is a step by step guide on converting your bike with a rear wheel hub motor kit
- Part 5 covers the 7 best eBike hub conversion kits for heavy and overweight people
RESOURCES LIST FOR OUR UK READERS
Seven Must Do Actions Before Buying ANY eBike Conversion Kit
Got an old bike that you want to convert? Learn the 7 Must Do Actions Before Buying ANY eBike Conversion Kit and save time and money with proper preparation
7 Best eBike Conversion Kits for Heavy and Overweight People
Heavy eBike rider? Here’s the 7 best hub and mid drive eBike conversion kits for people weighing 280 pounds plus. eBike Conversions for Beginners Series Part 5
Rear Wheel eBike Conversion – 5 Easy Stages – Newbie Guide
Part 3 of eBike Conversions For Beginners. Step by step guide for complete beginners to build an eBike with a rear wheel hub motor kit in five easy stages.
Complete Beginners Guide – eBike Conversion In 6 Easy Steps
Part 2 of eBike Conversions for Beginners – Step by step guide for complete beginners to build an eBike with a front wheel hub motor kit in six easy steps.
Beginners Guide on How to Convert a Regular Bike to an eBike
Part 1 of eBike Conversions for Beginners series – 5 reasons to convert a normal bike to electric. Differences between wheel hub motor and mid drive kits.

![]()
Last update on 2024-07-27 / Affiliate links / Images from Amazon Product Advertising API

